
വെറും 10 രൂപ ചിലവിൽ.!! ഇനി ഇന്റർലോക്ക് കട്ടകൾ വീട്ടിൽ തന്നെ എളുപ്പം ഉണ്ടാക്കാം.. 5 മിനിറ്റിൽ അടിപൊളി മുറ്റമൊരുക്കാം.!! | Interlock Tiles Making Easy Tip
- Prepare the mixture: Combine cement, sand, and water in the right proportions.
- Add color: Mix in pigment if colored tiles are desired.
- Mold the mixture: Pour into interlocking tile molds.
- Compact: Use a compactor to remove air bubbles.
- Cure: Let the tiles set and harden for at least 24 hours.
- Polish: Smooth the surface for a finished look.
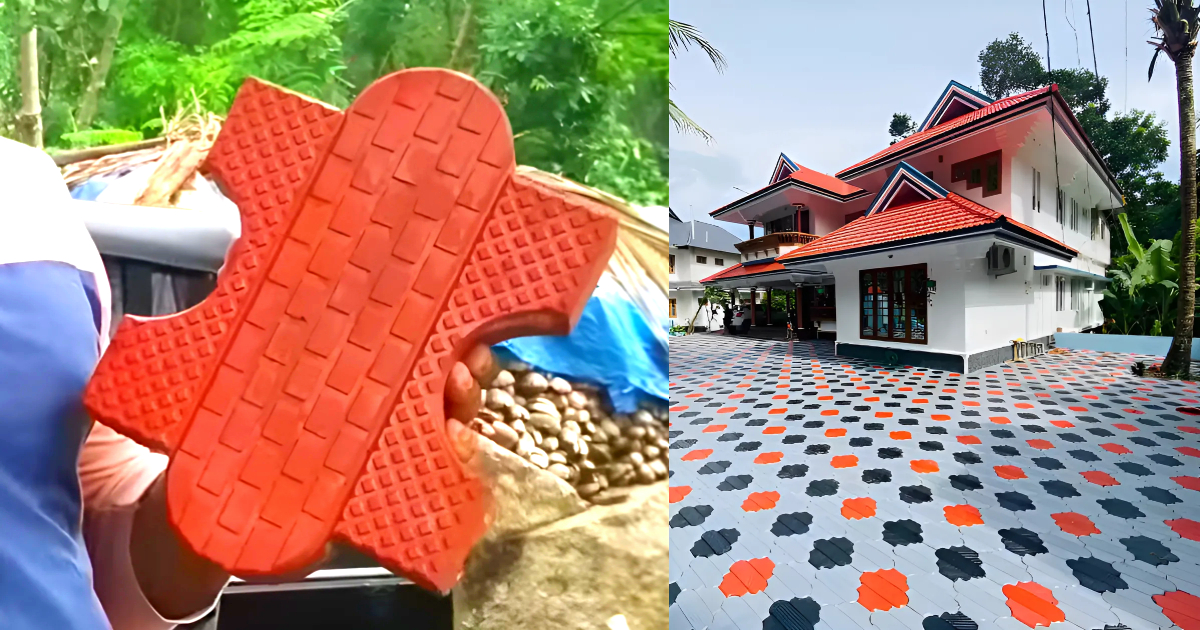
Interlock Tiles Making Easy Tip : മുൻകാലങ്ങളിൽ നിന്നും വ്യത്യസ്തമായി ഇന്ന് എല്ലാ വീടുകളിലും മുറ്റത്ത് ഇന്റർലോക്ക് കട്ടകൾ ഉപയോഗിക്കുന്ന പതിവ് കൂടുതലായി കണ്ടുവരുന്നുണ്ട്. കാഴ്ചയിൽ ഭംഗിയും ക്ലീൻ ചെയ്യാൻ എളുപ്പവുമുള്ള ഇന്റർലോക്ക് കട്ടകൾ കടകളിൽ നിന്നും വാങ്ങി ഉപയോഗിക്കേണ്ടി വരുമ്പോൾ ഉയർന്ന വില നൽകേണ്ടി വരാറുണ്ട്. എന്നാൽ വളരെ കുറഞ്ഞ സാധനങ്ങൾ മാത്രം ഉപയോഗപ്പെടുത്തി കുറഞ്ഞ ചിലവിൽ ഇന്റർലോക്ക്
കട്ടകൾ വീട്ടിൽ തന്നെ നിർമ്മിച്ചെടുക്കാനായി സാധിക്കും. അത് എങ്ങനെയാണെന്ന് വിശദമായി മനസ്സിലാക്കാം. ഈയൊരു രീതിയിൽ ഇന്റർലോക്ക് കട്ടകൾ നിർമ്മിക്കാനായി അളവായി എടുക്കുന്നത് വലിയ ഒരു ഐസ്ക്രീം ബോട്ടിലാണ്. അതിൽ നാല് കപ്പ് അളവിൽ എം സാൻഡ്, മൂന്ന് കപ്പ് അളവിൽ ബേബി മെറ്റൽ, ഒരു കപ്പ് അളവിൽ സിമന്റ് എന്നിങ്ങനെയാണ് ഒരു കട്ട നിർമ്മിക്കാനായി ആവശ്യമായിട്ടുള്ളത്. അതോടൊപ്പം തന്നെ കട്ട നിർമ്മിച്ചെടുക്കാൻ ആവശ്യമായ ഒരു
Making interlock tiles involves mixing cement, sand, and water, adding color if desired. Pour the mixture into molds and use a compactor to remove air bubbles. Allow the tiles to cure for 24 hours, then polish the surface. This process creates durable, interlocking tiles for flooring and paving.
മൗൾഡ് കൂടി ഉപയോഗിക്കേണ്ടതായി ഉണ്ട്. ആദ്യം തന്നെ അത്യാവശ്യം വലിപ്പമുള്ള ഒരു സിമന്റ് ചട്ടിയെടുത്ത് അതിലേക്ക് എടുത്തുവച്ച എം സാൻഡ്, ബേബി മെറ്റൽ, സിമന്റ് എന്നിവ ചേർത്ത് നല്ലതുപോലെ മിക്സ് ചെയ്ത് എടുക്കുക. അതിനുശേഷം ആവശ്യത്തിനുള്ള വെള്ളം കുറേശ്ശെയായി ഒഴിച്ച് സിമന്റിനെ കട്ടിയുള്ള രൂപത്തിൽ ആക്കി എടുക്കണം. ഏത് ഷെയ്പ്പിലാണോ കട്ട നിർമ്മിക്കേണ്ടത് ആ ഷേയ്പ്പിൽ ഉള്ള മൗൾഡ് എടുത്ത് അതിനകത്ത് എണ്ണ തടവി കൊടുക്കുക.
ആദ്യത്തെ ലെയറായി അല്പം സിമന്റ് കൂട്ട് നിറച്ച് നല്ലതുപോലെ തട്ടി കൊടുക്കണം. ശേഷം തയ്യാറാക്കി വെച്ച എം സാൻഡിന്റെ കൂട്ടുകൂടി ചേർത്ത് ഉണങ്ങാനായി ഒരു ദിവസം മാറ്റിവയ്ക്കാം. അതിനുശേഷം ഇന്റർലോക്ക് കട്ട മൗൾഡിൽ നിന്നും അടർത്തിയെടുത്ത് വെള്ളത്തിൽ കുറഞ്ഞത് 10 മുതൽ 15 ദിവസം വരെ ഇട്ടുവയ്ക്കണം. വെള്ളത്തിൽ നിന്നും എടുത്ത എം സാൻഡ് കട്ടകൾ ഒന്നുകൂടി വെയിലത്ത് വെച്ച് ഉണക്കിയ ശേഷം ആവശ്യാനുസരണം ഇഷ്ടമുള്ള നിറങ്ങൾ നൽകി ഉപയോഗിക്കാവുന്നതാണ്. കൂടുതൽ വിശദമായി മനസ്സിലാക്കാൻ വീഡിയോ കാണാവുന്നതാണ്. Interlock Tiles Making Easy Tip credit : Jilz World
Interlock Tiles Making Easy Tip
Here’s a simple tip for making interlock tiles at home or on a small scale — useful if you’re into DIY or small construction projects:
🧱 Easy Tip for Making Interlock Tiles
🧪 Basic Materials Needed:
- Cement
- Fine sand
- Stone dust or granite powder
- Color oxide (optional)
- Water
- Moulds (PVC or metal interlock tile moulds)
- Tile vibrator table (for a smooth finish)
🏗️ Simple Process:
1. Mix the Base Layer (Top surface layer):
- 1 part white cement
- 1 part fine sand or granite powder
- Color oxide (if desired) – about 2–3% of cement weight
- Mix dry first, then add a little water to make a paste.
2. Pour into the Mould:
- Pour the colored mix (top layer) into the moulds.
- Shake gently to settle and avoid air bubbles.
3. Add the Backing Layer (Strength layer):
- 1 part cement
- 2 parts stone dust
- 3 parts sand
- Add water to make a slightly wet concrete mix.
- Fill this on top of the base layer in the mould.
4. Vibrate the Mould:
- Use a vibrator table for 30–60 seconds to remove air bubbles and ensure even spreading.
5. Let It Set:
- Leave the tiles in the mould for 24 hours in a shaded area.
6. Cure the Tiles:
- Remove from mould and soak in water for 7–10 days to increase strength.
💡 Bonus Tip:
- Use a releasing agent (like oil or soapy water) inside the mould before pouring concrete — it makes removing tiles easier and cleaner.